Summary
Release notes relied on short feature GIFs, and each one took days to produce by hand. A typo or a recording glitch meant starting over.
I initiated the project, designed the scripting format, and built the recorder end to end.
A Puppeteer-based recorder that plays JSON scenarios with a visible cursor, zoom and annotations, then exports a tuned GIF with FFmpeg.
Release GIFs were generated from scripts instead of performed and recorded by hand, and scenarios could be reused when the UI changed.
Context
We wanted our release notes to do a better job of introducing new features: where to find them and how to use them.
After some trial and error, we landed on micro video tutorials: animated GIFs, each about 10–15 seconds long. They were easy to share and consume, and an effective way to introduce new features. Product managers and the field teams loved them.
Manual production
Each GIF took me several days to prepare because the production pipeline was manual.
A mistake in the scenario, a misspelling, or an issue during recording usually meant another recording session. That also meant preparing the environment again.
- 01 Write scenario
Plan the sequence of actions that demonstrates the feature.
- 02 Prepare environment
Set up the application and data needed for the recording.
- 03 Capture video
Perform the scenario and record the screen with Camtasia.
- 04 Edit
Trim the recording and adjust its timing in Camtasia.
- 05 Configure export
Balance image quality and file size in Photoshop, then export the GIF.
Existing tools
Producing the GIFs manually put constant pressure on me to automate the process. I searched for an existing solution, but nothing met my needs: each tool covered part of the workflow, and none was built for recording product demos.
| Requirement | Selenium + FFmpeg | SikuliX | AutoHotkey v1.1 |
|---|---|---|---|
| Purpose-built for automated video recording | No | No | No |
| Visible pointer movement with adjustable speed | No | Yes | Yes |
| Records iframe content, the cursor and cursor-shape changes | Yes | No | No |
| Configurable recording sizes (HD, Full HD) at 15 or 30 fps | Yes | No | No |
| Speeds up a recorded wait while keeping progress visible | Yes | No | No |
| Compresses a finished wait to a chosen playback duration | Yes | No | No |
| Scripted repeat recordings at different sizes | Yes | No | No |
Since I hadn’t found an existing solution, I decided to build one myself.
Proof of concept
Months of experiments
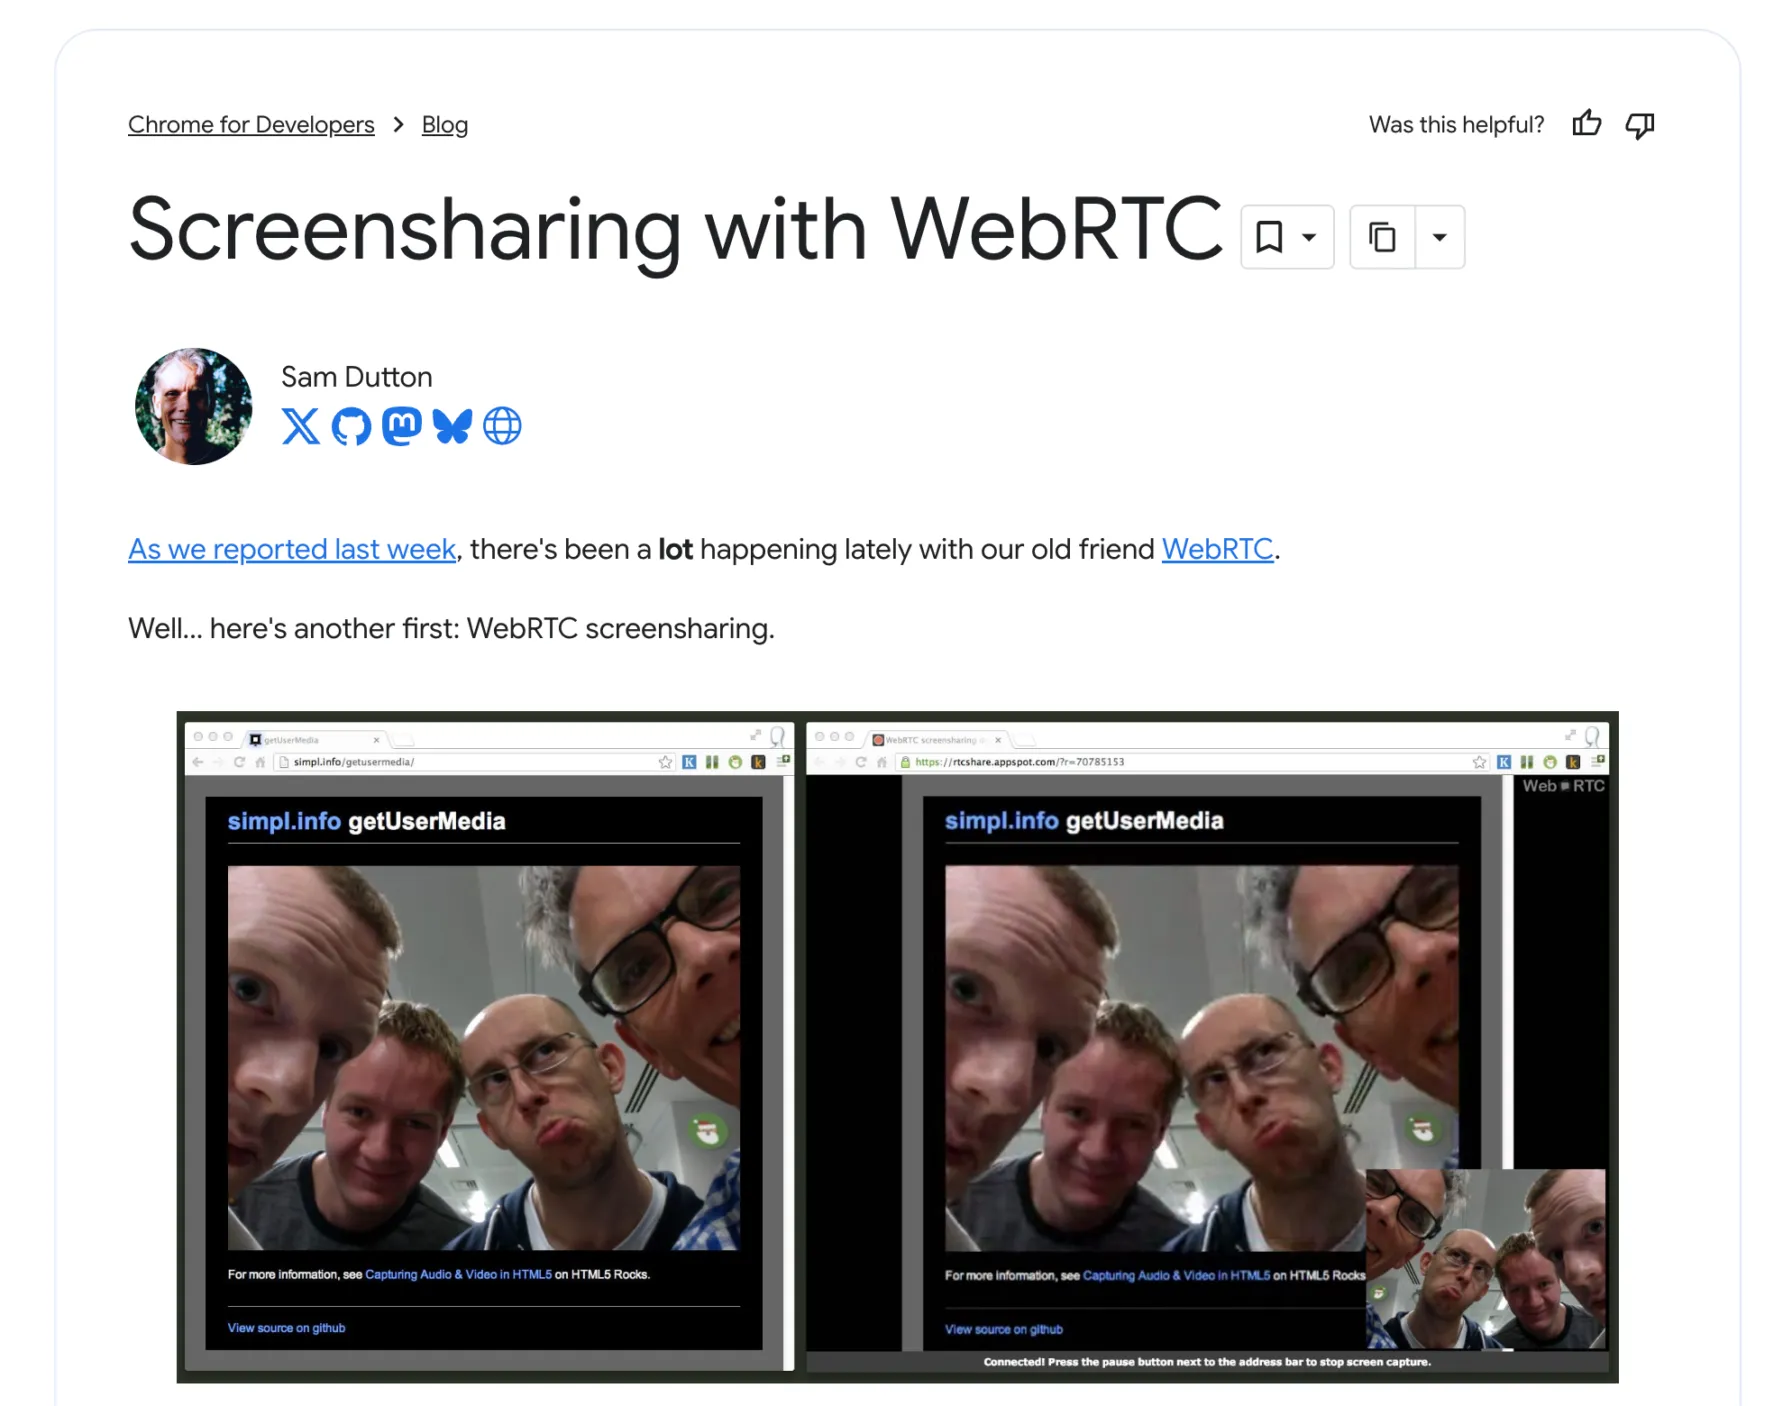
After some research, I found a promising lead: the WebRTC API. Several sources explored the same task I wanted to tackle in my first proof of concept: recording a webpage programmatically and saving the video as a file.
I tried to make it work many times, but there was always some technical blocker.
It finally worked
After a while, I gave WebRTC another try, this time with a fairly convoluted setup: Puppeteer + the Chrome extensions API + WebRTC. It recorded the page and saved the video as a file.
Visualizing the cursor
I expected the next step to be turning on cursor capture, like in Camtasia. But my Puppeteer-based setup recorded the page without a visible cursor, so I needed a way to show the cursor and its movements in the recording.
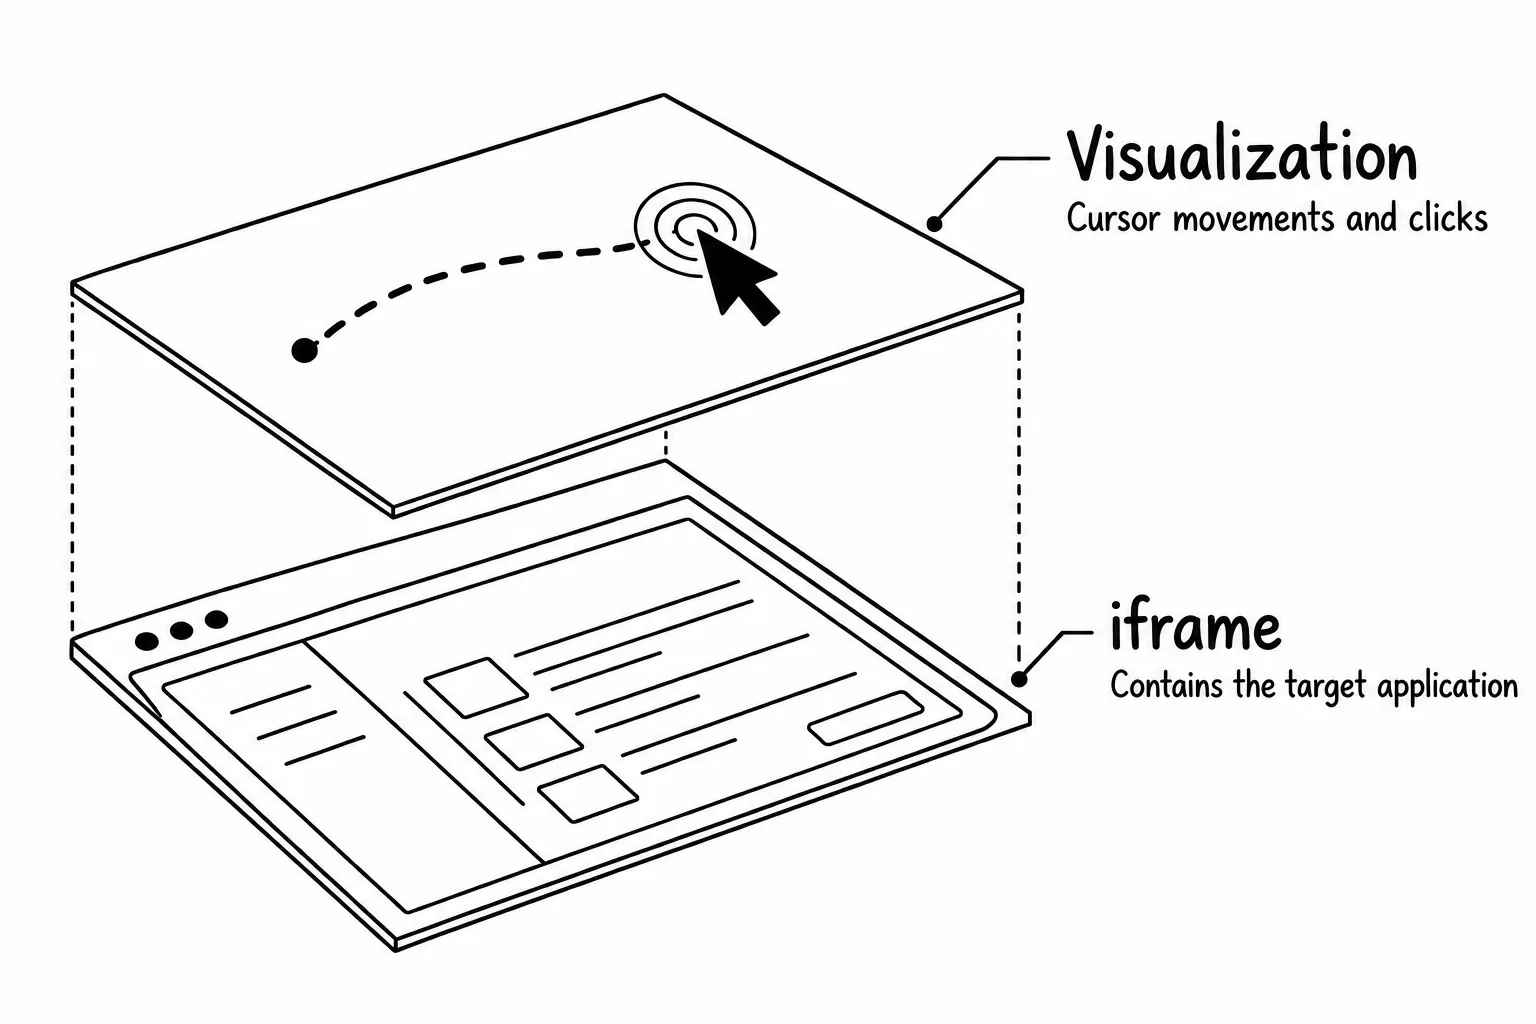
That required rethinking the architecture, or rather, starting to think about it. Eventually I came up with two layers:
- Visualization: displays the cursor, its movements, and click effects.
- Target application: holds the web application being recorded, in an iframe.
The visualization layer sits above the application, so the cursor appears in the recording.
I can see it moving
This recording combined several things I’d been struggling to achieve until then:
- Click on target elements
- Position the cursor above the target
- Show hover and active states
- Visualize the cursor, clicks, and movements
- Save the recorded video as a file
None of the tools I’d found could combine all of these.
Scripting
A typical scenario in manual production might be: go to a button, click it, wait for the change. To complete it, an automation tool performs many smaller actions, such as cursor movements and clicks. Even a simple scenario looks complex in code.
const browser = await puppeteer.launch();
const page = await browser.newPage();
await page.goto('http://localhost:3000/tests/html/cursor-test.html', { waitUntil: 'networkidle0' });
await moveVisualCursorTo('#a');
await page.waitFor(1000);
await page.click('#a');
await moveVisualCursorTo('#b');
await page.waitFor(1000);
await page.click('#b');
await moveVisualCursorTo('#d');
await page.waitFor(1000);
await page.click('#d');
await moveVisualCursorTo('#c');
await page.waitFor(1000);
await page.click('#c');
await moveVisualCursorTo('#a');
await page.waitFor(1000);
await page.click('#a');
await browser.close();To simplify the scripts, I defined them as JSON files and packed repetitive instructions into simple steps. The tool performs the remaining actions automatically.
{
"url": "http://localhost:3000/tests/html/cursor-test.html",
"steps": [
  { "click": "#a" },
  { "click": "#b" },
  { "click": "#d" },
  { "click": "#c" },
  { "click": "#a" }
]
}Step types
As soon as I tried to produce real scenarios, I realized I’d need many more step types beyond clicking. I added them as I met new use cases, and ended up with several dozen.
Mouse & keyboard
- click
- Move to an element and click it.
- rightClick
- Open an element’s context menu.
- hover
- Move over an element without clicking.
- hoverAboveList
- Hover over a sequence of list items.
- mouseMove
- Move the cursor along the scripted path.
- dragAndDrop
- Drag an element to its destination.
- inputText
- Type text into an input field.
- pressKey
- Press a keyboard key or shortcut.
Navigation & framing
- navigate
- Open a URL in the browser.
- position
- Move the cursor to the center of the recording.
- scrollBy
- Scroll by a specified offset.
- scrollIntoView
- Bring a target element into view.
- zoomOn
- Zoom toward an element to reveal a detail.
Recording & capture
- startRecording
- Begin capturing the page as video.
- stopRecording
- Finish capturing the video.
- pauseResume
- Pause and resume video capture.
- pauseResumeOn
- Pause or resume capture when a target condition is met.
- stopOn
- Stop capture when a target condition is met.
- shoot
- Save a screenshot of the page.
- clickAndShoot
- Click an element, then save a screenshot.
Timing & playback
- wait
- Pause the script for a specified duration.
- waitForSelector
- Wait for a matching page element.
- fastForward
- Compress a timed interval into faster playback.
- fastForwardOn
- Start or stop faster playback based on a target condition.
Annotations & audio
- subtitle
- Display text to explain the current action.
- tooltip
- Show an explanatory callout beside an element.
- speak
- Play generated speech for the script.
- playSound
- Play an audio file during the flow.
Page customization
- addScriptTag
- Insert a script into the page.
- addStyleTag
- Add CSS to customize the page’s appearance.
- removeStyleTag
- Remove a style tag from the page.
- runCustomScript
- Run custom JavaScript as part of the flow.
The hardest step: zoomOn
Some steps were easy; others took real work. One of the most wanted, and hardest to build, was zoomOn. It acts like a camera moving closer to a UI element, making a small detail readable and directing the viewer’s attention.
The hard part was growing the page while moving the chosen element into the center, then reversing that movement cleanly.
Export to GIF
The last stage is converting the video into a GIF. It sounds trivial, but it takes a fine balance between file size and image quality.
When I made the GIFs manually, I used Photoshop’s export settings to find that balance. The right settings depended on the scene’s colors, amount of movement, and other factors, so different scenes needed different configurations.
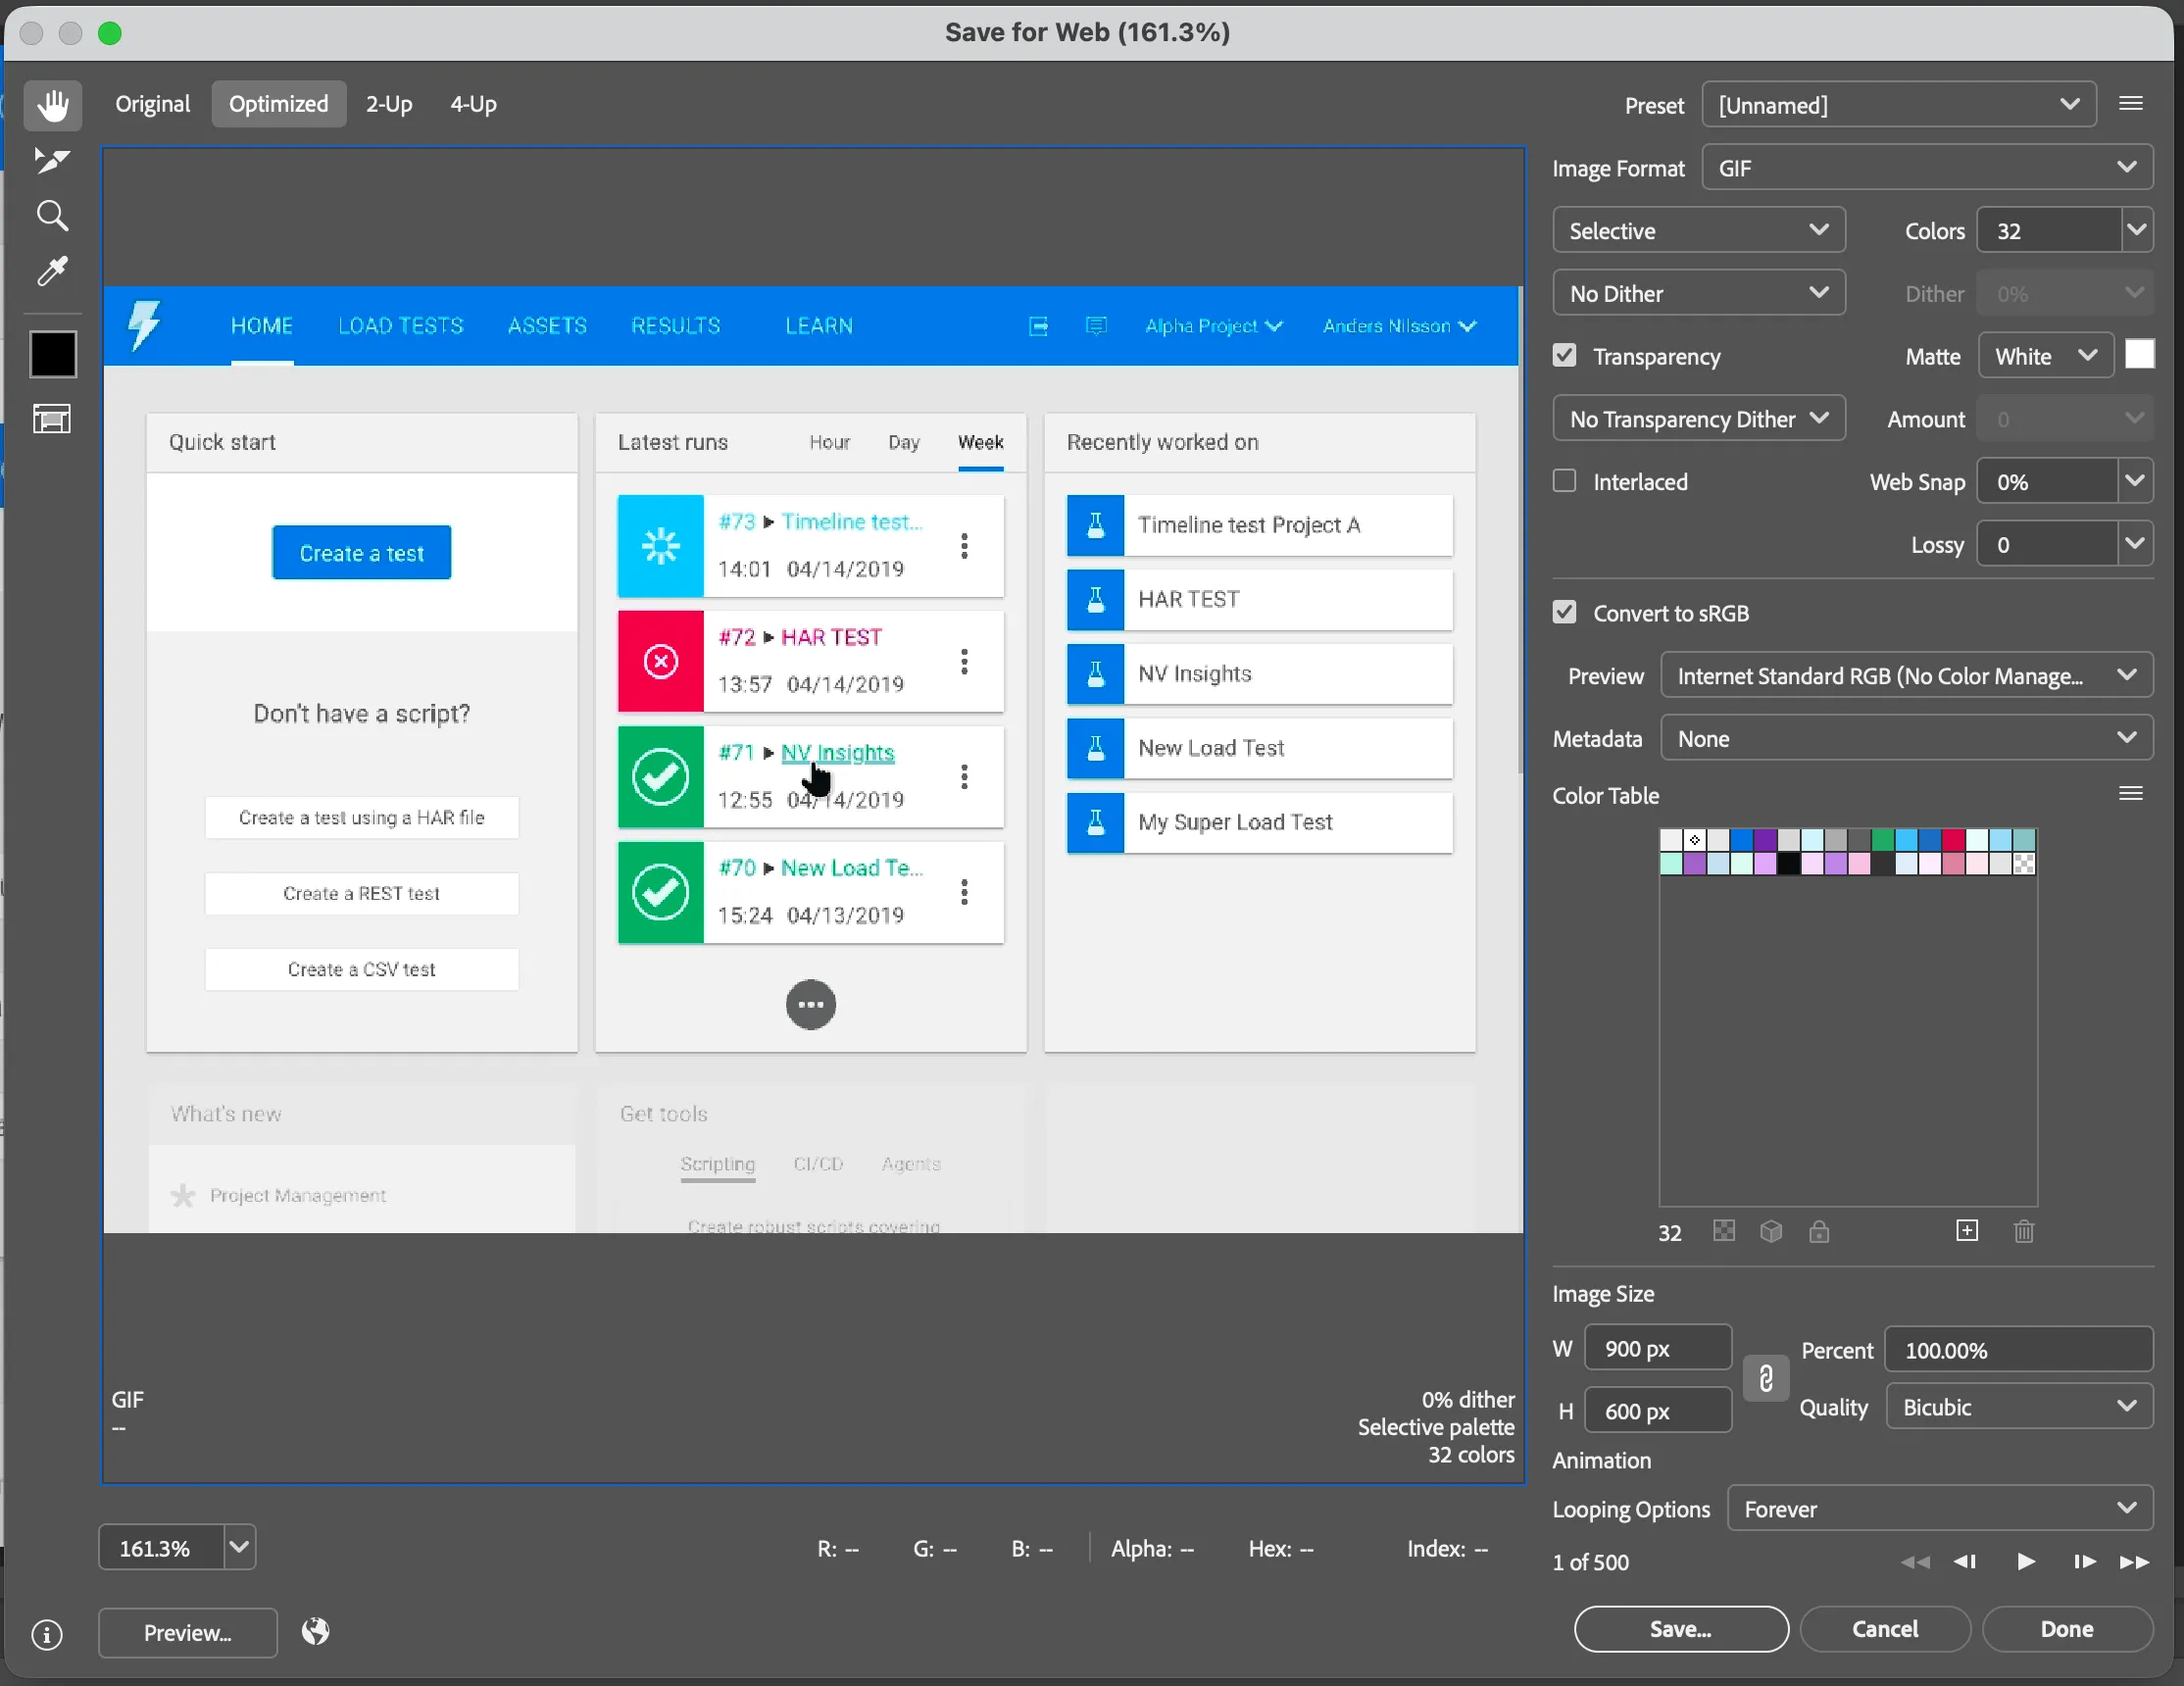
To automate it, I used FFmpeg. It generates a color palette from the entire source video, then uses that palette to color every GIF frame, so each scene gets settings that fit it.
Testing
To make sure everything kept working, I created a collection of test scenarios that I ran after code changes, one for each step type.
GIFs in production
Here are some of the GIFs the tool produced for StormRunner Load releases.
Impact
- Less production time. Release GIFs were generated from scripts instead of performed and recorded by hand.
- Controllable output. Cursor movement, click effects, and zoom were set in the script, not left to a live take.
- Reusable scenarios. When the UI changed, I re-ran the scenario instead of starting over.
It took me more than a year to get the tool to generate production-ready GIFs. Throughout that time I kept making them manually, but the prospect of automating the process changed how I felt about the work.